Deploying a Node.js Application on AWS Using Coolify
"Deploy your Node.js application to AWS Lightsail with Coolify, complete with custom domain integration."
Introduction
Platforms like Vercel are incredibly easy to deploy with, but they can become expensive in the long run. On the other hand, platforms like AWS are often more cost-effective, but deploying on them requires a certain level of expertise due to their complexity. This is where Coolify steps in to simplify things. With Coolify, you can run your own Vercel-like platform on AWS with just a single command. It’s as straightforward to set up as popular serverless services like Vercel and offers powerful features such as metrics, automated deployments, preview link generation, and more.
Deploy your Code
We're using Lightsail because it is easy and allows you connect to your instance directly from your browser.
- Create a lightsail instance
Create an AWS Lightsail instance supported by Coolify . Click here to see the supported systems and requirements . - Install Coolify on your instance
Click the Connect with SSH button on your instance and run the following command to install coolify .curl -fsSL https://cdn.coollabs.io/coolify/install.sh | bash - Create an account
Once Coolify is done installing, go to IP:8000 and create an account . - Configure Domain
On your Lightsail instance (on AWS), click on Domain and add your domain. Simply input your domain or subdomain, then update your domain's DNS settings with the provided DNS configuration. - Configure Wildcard
Imagine your domain is test.example.com. You should add test.example.com to your Lightsail configuration and ensure it resolves to your IP. Additionally, add the wildcard .test.example.com as an A Record in your domain's DNS settings, pointing it to your IP as well. This wildcard will allow you to create subdomains for your application, such as myfirstapp.test.example.com.
If your domain is test.example.com, you should use *.test when adding wildcard to your domain config.
- Add Domain to Server
Click on the Server tab and add your configured domain to the wildcard input, then save. If it doesn't save, it means your configuration is incorrect. - Create Project
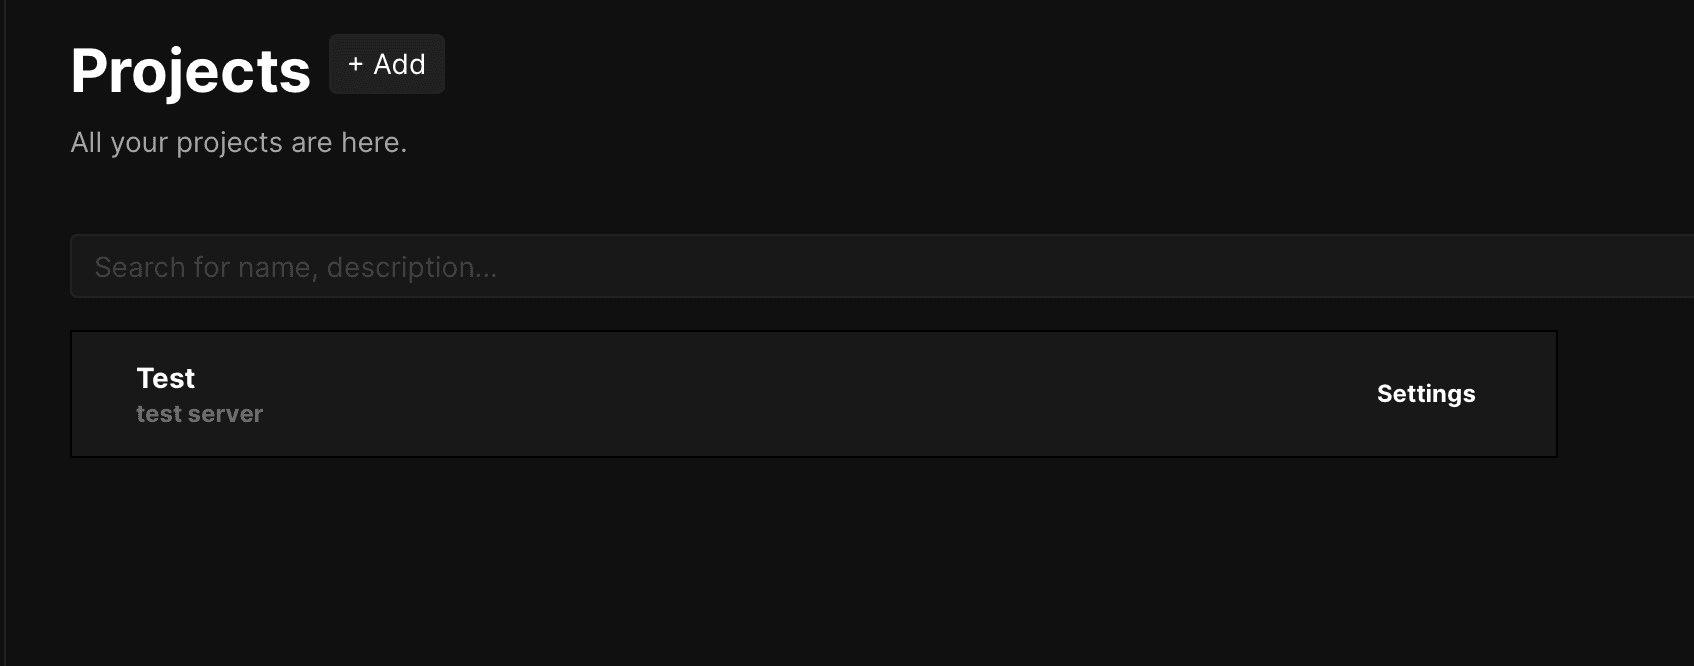
Click on the Project tab, then click the Add button to create your project. Simply input a name and description.

- Add Resource
Click on the Source tab and then the Add button. Select your type of repository—public or private. If it's an organization repository, add the organization's name before clicking the Continue button. You'll be redirected to GitHub to create your app and then brought back to Coolify. - Configure Deployment Settings
Open the project and make any necessary changes for deployment, such as adding your environment variables, configuring your install, build, and start commands, enabling auto-deployment, and more. - Deploy
Click the Deploy button and watch the magin happen.
Select Nixpack as your build pack; it automatically uses your lock file to set the install, build, and start commands. You can also change the pre-generated domain, but avoid clicking the Generate Domain button, as it will create a dummy domain unrelated to your actual domain.
Conclusion
Coolify makes deploying your apps super easy, giving you the features of Vercel without the crazy costs. Setting up your Lightsail instance, configuring your domain, and adding your projects are all straightforward. You can also set up databases, Redis, and more directly on Coolify, which is a big plus.
That said, I ran into a snag when my 2GB system wasn’t enough to build my Node app. The fix? A swapfile. If you hit the same issue, no worries—check out my article on generating a swapfile.
Before you wrap up, don’t forget to head to settings and enable 2FA for extra security. Good luck, and happy deploying!
Share this article
Related Articles

Getting Started With Python On Termux.
An introduction to Termux and its significance for developers.
Joseph Chisom
2 years ago

Node.js API Monitor: How to Track API Logs for Free
Learn how to monitor API logs in Node.js for free. Store and search requests easily, with additional features to enhance your API monitoring.
Ugochukwu Paul
1 year ago

Nodejs Developer Roadmap 2024
A detailed Node.js roadmap for tech newbies who want to become self taught backend devs
Ugochukwu Paul
1 year ago
